
Machine Overview and User Guide for the Sanremo Café Racer
The Sanremo Cafè Racer is a certified favourite of ours here at Bridge Coffee Roasters, with our showroom model being the dedicated staff coffee machine for over four years. We’ve come to love the machine and, whilst it’s not for everyone, can certainly recommend them to anyone with the right budget and requirements.
We’ve gotten to know the Cafe Racer pretty well over the years so, in this article and video playlist, we’re going to detail a number of the features and settings available to the user including programmes and cleaning modes. Before we get into answering some of the most common questions around the Cafè Racer, let’s take a quick look at the features of the machine itself.
Café Racer Machine Walkthrough

Great, so now you know how to get around the Café Racer and what each button does, let’s get into the nitty gritty of things you’ll probably need to know to modify the machine to your liking.
Shot Programmes and Dose Settings
The Cafe Racer offers four programmable shot buttons for each group head, which can be programmed together or independently via two settings menu options.
Doses Settings – Method One
The first option allows you to perform a manual brew using a scale and timer to get to your desired espresso recipe and ratio, before then saving the recipe as a recorded shot programme and copying it across to the other group heads.
To get to this settings menu, hold down the middle shot button on the left-most group head until you see the words “doses settings select dose in 30s”. Then, dose your coffee into the portafilter and place a scale under your cup. Press the shot button that you’d like to programme, and then stop the shot once you have hit your target output by pressing the programme button once again. This will then save the recorded shot volume to the button selected, and copy it across to all other group heads.
Use this mode to quickly save brew recipes, along with programming the dose of hot water required for americanos and teas from the hot water spout. Simply start and stop the hot water flow when you have reached your target volume.
Dose Settings – Method Two
The second method allows you to fine tune each dose setting by the millilitre, and to save up to four different programme doses for each group head (8 or 12 total). To fine tune your doses, simply press the hot water button whilst holding down the middle shot button on the left group head. You have now entered the main settings menu. Continue through the menu using the middle shot button until you see D1 for ‘Dose 1’. You can then use the left and right shot buttons to fine tune your first coffee dose. When happy, continue to the next dose and fine tune each as needed. Remember that these will only be saved on the group head you have selected, so make sure to repeat the process across each group head.

Adjusting the Temperature Settings
The Café Racer is a multi-boiler espresso machine, meaning each group head has it’s own dedicated brew boiler for precise and consistent temperature monitoring. This allows you to programme different temperatures for each group head (if required), and to fine tune the temperature by 0.1 of a degree.
To adjust the temperature, enter the settings menu by pressing the hot water button whilst holding down the middle shot button of the group head you’d like to adjust. You should be met with the first screen in the settings menu which shows a temperature paired with either T1, T2 or T3. Use the left and and right shot buttons on that group head to adjust the brew temperature up or down by increments of 0.1 degrees.

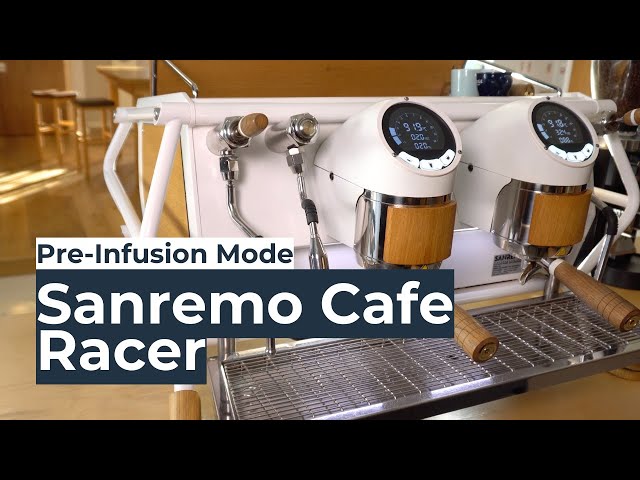
Pre-infusion Settings Menu
The Café Racer offers a ‘soft pre-infusion’ which can be independently programmed for each shot button, pumping water through the puck at a low pressure for a set number of seconds. To adjust pre-infusion settings, enter the settings menu by pressing the hot water button whilst holding down the middle shot button on the left group head. Using the middle shot button, continue through the settings menu until you see the word ‘Pre’, where you can switch pre-infusion on or off by using the left or right buttons.
Once pre-infusion is turned on, continue one step further into the settings menu using the middle shot button until you reach P1, this indicates the pre-infusion settings for your first coffee dose. Adjust the pre-infusion time to the nearest 0.1 of a second using the left and right shots buttons, then continue through the pre-infusion settings for each dose using the middle shot button. Once you have programmed each dose, continue pressing the middle button to scroll through the rest of the menu and get back to the brewing screen.
Performing a Backflush Cleaning Cycle
The Café Racer, like many commercial espresso machines, has a built-in automatic Backflush cleaning cycle that can be started by tapping the middle and left buttons on each group head at the same time. It’s essential to perform a backflush of your machine at the end of every day or service to ensure proper cleanliness and performance is maintained.
Before performing a backflush, make sure to place a blank basket inside the portafilter and brush down the group head and shower screen. Add one teaspoon (3-5 grams) of espresso cleaning powder to the blank disk and then lock it into the group head. Start the automatic backflush cycle by tapping the left and middle shot buttons. The cycle should only take around a minute. Once complete, rinse the blank and brush down the shower screen before performing another water-only backflush. Once finished, purge the group head with a little water and then you’ll be ready to shut off the machine for the next day of service.

Adjusting the Drip Tray Height
One of the great design features of the Café Racer is the adjustable height of the drip tray, allowing you to comfortably fit a large takeaway cup with a scale underneath in its lowest position, and to reduce the clearance between the spout and a small espresso cup in its highest position. To adjust the height of the drip tray on the Café Racer, locate the two large knobs underneath and towards the back of the drip tray and twist them by hand clockwise or anti-clockwise to raise or lower the height of the tray.

What did we miss?
If there’s anything you still need to know about the Café Racer, email me directly at jack@bridgecoffeeroasters.co.uk and I’ll update this article accordingly.